 Whatcom County
 Building New in Columbia? The Windows Deserve as Much Attention as the Framing
If you're framing a new home or an addition in the Columbia area, the windows are one of the few components that have to perform on day one and keep performing for decades without anyone opening up the wall to check on them. Once siding, trim, and interior finishes go on, a poorly flashed or mis-sized window becomes a hidden problem — one that usually shows up as a stain on drywall two winters later, not a leak you can see right away. In Whatcom County, where salt-laden air off the Sound, driving rain, and a long moss season put steady pressure on every exterior opening, getting the window install right during new construction is cheaper and easier than fixing it after the fact.
This page is about that one job done right: new-construction window installation for homes being built or substantially framed in Columbia, not a retrofit or replacement into an existing opening. The two jobs share a name but not much else, and the difference matters for how we approach yours.
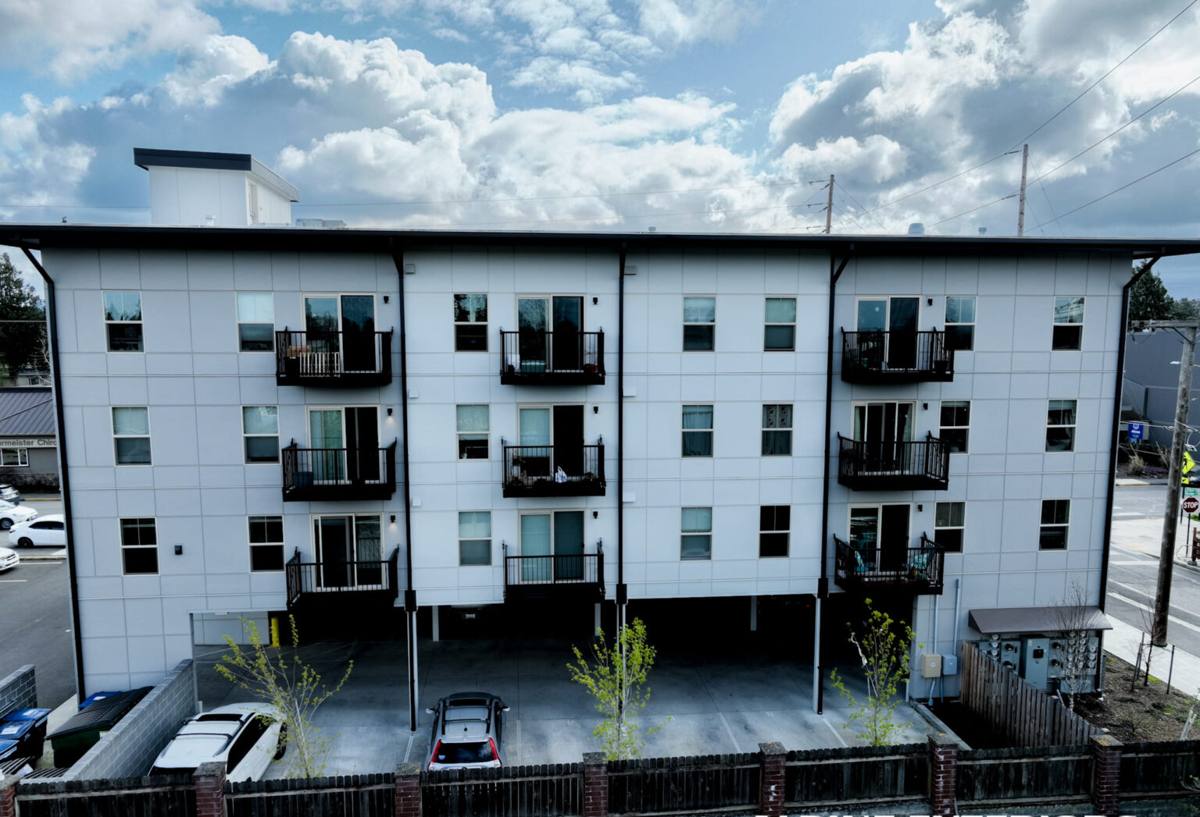
What Whatcom County's Climate Actually Does to a New Window Opening
Columbia sits close enough to the water and the weather patterns that come off it that new construction here needs to plan for a few specific stresses from the start:
- Salt air corrosion: Marine air accelerates corrosion on unprotected fasteners, hinges, and lesser-grade hardware. Window and flashing hardware choices matter more here than they would inland.
- Driving, wind-blown rain: Storms in this part of Washington rarely fall straight down. Rain gets pushed sideways into wall assemblies, which puts the full burden of keeping water out on the flashing and sealant details, not just the window unit itself.
- A long, damp moss season: Extended periods of moisture and shade mean any spot where water can sit — a sill without proper slope, a gap in house wrap, a missing drip cap — stays wet longer here than in drier climates, giving mold, rot, and moss more time to take hold before anyone notices.
- Temperature swings across the seasons: Not extreme, but enough that frame materials and glass packages need to handle expansion and contraction without the seals failing early.
None of this is exotic — it's the same maritime Pacific Northwest pattern that shapes construction all along this coast. But it does mean a window installation copied from a drier or more inland region will underperform here, sometimes for years before it shows.
New-Construction Windows vs. Replacement Windows: Why the Distinction Matters
People sometimes use "new windows" to mean either job, but they're built differently:
| Factor | New-Construction Window | Replacement (Retrofit) Window |
|---|---|---|
| Installed into | Open stud framing, before siding and interior finish | An existing finished opening, siding intact |
| Attachment method | Nailing fin fastened to sheathing, fully accessible flashing | Fastened through existing frame or with a flush-fin approach |
| Flashing access | Full access to house wrap, sill pan, and wall assembly | Limited — existing siding constrains what can be re-flashed |
| Best used when | Building new, adding a room, or gutting to the studs | Windows are failing but the surrounding wall and siding are sound |
Because Columbia has a mix of established homes and newer building activity, we get asked about both — but this page, and the crew that shows up for it, is set up specifically for the new-construction side: framed openings, house wrap not yet closed in, and a chance to build the water management system correctly from the studs out.
Why This Matters More on New Construction
New construction is your one shot to get the sill pan, flashing sequence, and air sealing right while everything is still open. Skipping steps here doesn't just risk one window failing — it can affect the wall assembly's ability to dry out if water ever does get past the exterior cladding, which in a wet climate like Whatcom County's is a real long-term liability.
What a Correct New-Construction Window Install Actually Involves
Done right, installing a window during framing follows a specific sequence. Skipping or shortcutting any step is how leaks get built into a brand-new house:
- Rough opening check: Confirm the opening is square, level, and sized correctly for the specified window — with tolerance for expansion, not a tight jam fit.
- Sill pan flashing: A sloped, sealed pan under the window so any water that does get past the unit drains back outward instead of into the wall cavity.
- Weather-resistive barrier integration: House wrap or building paper is lapped correctly around the opening — over the head flashing, under the side flashing — so water sheds down and out, following gravity, not into a seam.
- Window fastening: Nailing fin or frame fastened per the manufacturer's pattern and spacing, shimmed square and plumb so the sash operates properly and seals aren't stressed.
- Flashing tape and sealant at the fin: Sealed and taped on the sides and top, left open at the bottom weep path so incidental water can still exit.
- Interior air sealing: Low-expansion foam or backer rod and sealant between the frame and rough opening to stop air infiltration without bowing the frame.
- Exterior trim and drip cap: Head flashing or a drip cap above the window directs water away from the top seam before it ever reaches it.
- Final operational check: Every sash opens, closes, and locks smoothly before we call it done.
Quick reference checklist for homeowners or GCs who want to verify the work as it happens:
- Sill pan installed and sloped before the window goes in
- House wrap lapped in the correct shingle-style order around the opening
- Flashing tape sealed at sides and head, weep path left clear at the sill
- Window shimmed square and plumb, not just fastened tight
- Low-expansion foam used at the frame gap, not standard high-expansion foam that can bow the jamb
- Drip cap or head flashing installed above the unit
- Sashes tested for smooth operation before trim goes on
Frame Materials and Glass: What Makes Sense for Columbia's Climate
New construction gives you a choice most retrofits don't — you're picking the window from scratch, not matching an existing opening. Here's how the common options stack up for this climate specifically:
| Option | Salt air / moisture performance | Maintenance | Notes for this area |
|---|---|---|---|
| Vinyl | Good — won't corrode or rot | Low | Solid, budget-friendly choice for most new builds; quality varies by manufacturer grade |
| Fiberglass | Very good — dimensionally stable, resists warping | Low | Handles temperature swings well; costs more upfront |
| Wood (unclad) | Poor without diligent upkeep in a wet, mossy climate | High | We're honest that unclad wood is a tough sell here — it needs consistent refinishing to avoid moisture damage |
| Clad wood (vinyl or aluminum exterior) | Good — exterior shell protects the wood core | Moderate | Good middle ground if you want a wood interior look with better weather resistance outside |
| Aluminum | Requires marine-grade hardware and finish to resist salt air corrosion | Moderate | Common in modern designs; needs the right coating spec for coastal exposure |
On glass, a dual-pane, low-E package with argon fill is standard for new construction in this region and handles our moderate but persistent temperature swings well. We'll talk through frame and glass options against your budget and the home's design rather than pushing one line — the right call depends on your elevation exposure, roof overhangs, and how much direct weather that side of the house takes.
Our Process for a Columbia New-Construction Job
Because we're not showing up to guess at conditions we've never seen before, working new construction locally means the process is straightforward:
- Plan review and measure: We go over the window schedule against the actual framing, catching rough-opening sizing issues before the windows are ordered.
- Coordinate with the framing and siding timeline: Windows go in after the weather-resistive barrier is on and before siding closes the opening — timing that requires coordinating with whoever else is on the job.
- Install following the flashing sequence above: Sill pan, WRB integration, fastening, taping, foam, and drip cap — no skipped steps.
- Walkthrough before siding goes on: A last check of flashing and operation while the wall is still open, since it's the easiest point to fix anything.
- Final inspection with the homeowner or GC: Confirming operation, appearance, and fit once trim is complete.
Mistakes We See in New Construction — and How We Avoid Them
Most window callbacks in newer homes trace back to a handful of repeatable errors: house wrap lapped backward so water runs into the seam instead of over it, missing or improperly sloped sill pans, high-expansion foam used at the frame that bows the jamb and binds the sash, or a missing drip cap that leaves the head flashing to do a job it wasn't designed for alone. None of these are visible once trim and siding are on — which is exactly why they tend to surface as a stain or a drafty room a year or two after move-in, well after the crew that caused them has moved to another job. Slowing down at the flashing stage, when the wall is still open and every layer is checkable, is what prevents this.
Why It Matters to Work With a Crew That Already Knows Columbia
A window that's correctly installed by the book in a dry inland climate can still underperform here if the crew isn't thinking about wind-driven rain angles, salt air's effect on hardware, or how long moisture sits during moss season. Working regularly in Whatcom County means we're not learning these conditions on your job — we already know which details need extra attention on a Columbia lot versus a more sheltered inland site, and we build that into the install rather than treating it as an afterthought. That's the difference between windows that look right on install day and windows that are still performing right in ten years.
If you're framing a new home or addition in Columbia and want the window package planned and installed correctly from the start, we're happy to walk the plans with you and put together a straightforward estimate — no pressure, no obligation. Use the form below to get in touch.