 Whatcom County
 Why Window Installation in Lynden Needs a Local Approach
Lynden sits in the Nooksack River valley, inland from the saltwater of the Salish Sea but still squarely inside Whatcom County's marine-influenced weather pattern. That means long stretches of steady, driving rain in fall and winter, high ambient humidity most of the year, and short, cool summers that never fully dry the ground out. Homes closer to the water pick up salt-laden air that accelerates corrosion on hardware and fasteners; Lynden's homes deal more with sustained moisture and a long moss season that keeps roofs, siding, and window sills damp for weeks at a stretch. Either way, the underlying problem is the same: windows here spend more of the year wet than dry, and any weak point in the installation eventually shows it.
A window that's a great product on paper can still fail early if it's installed without the right flashing sequence, sealant, and attention to the wall assembly behind it. That's the piece that matters most in this climate, and it's the piece a lot of installs skip.
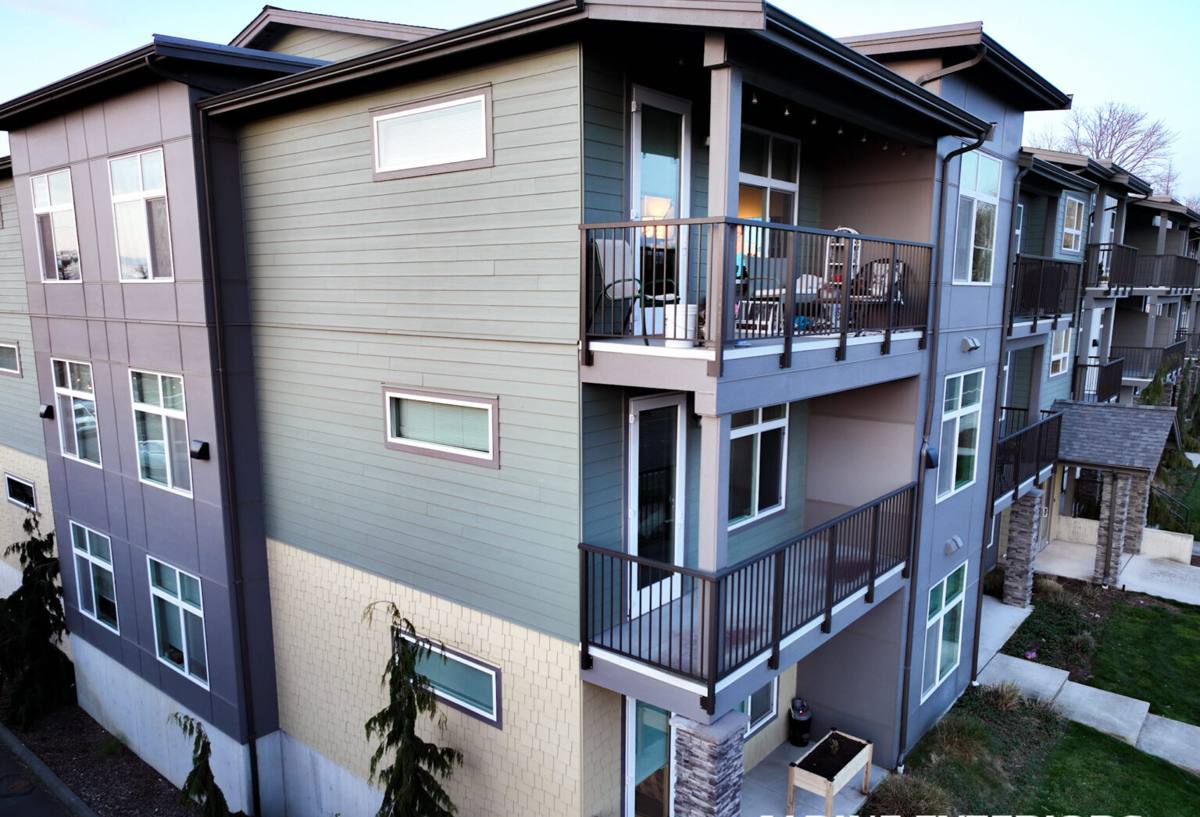
What Whatcom County's Climate Does to a Bad Window Install
We see the same failure patterns repeat on Lynden homes, almost always tracing back to how the window was set into the wall rather than the window itself:
- Sill rot and soft trim from water that gets behind the window and has nowhere to drain back out
- Fogged or failed double-pane glass when seal integrity breaks down early due to constant condensation cycling
- Moss and black streaking on sills and lower trim where moisture sits instead of shedding
- Drafts and cold spots from gaps in the insulation and air-sealing around the frame, not the frame itself
- Swollen or sticking sashes on older wood-frame windows that have absorbed moisture over multiple wet seasons
None of these are inevitable. They're the predictable result of skipping steps that take a little longer but are not optional in a climate like this.
Signs It's Time to Look at Your Windows
- Visible daylight or airflow around the frame when the window is closed
- Condensation forming between the panes, not just on the interior glass
- Paint peeling or wood feeling soft at the bottom corners of the frame or sill
- Moss or dark staining building up on the exterior trim below the window
- A noticeable rise in heating costs with no other explanation
- Windows that are hard to open, close, or lock properly
What a Correct Window Installation Actually Involves
Setting a window is straightforward in dry weather in a dry climate. In Whatcom County it's a sequence, and skipping or reordering steps is where most problems start.
The Wall Opening Comes First
Before a new window ever goes in, the rough opening gets inspected. If there's existing rot, staining, or soft sheathing from a prior leak, that gets addressed — putting a new window into a compromised opening just delays the failure, it doesn't prevent it.
Flashing and Drainage
Self-adhered flashing membrane goes in at the sill first, lapped so any water that does get past the window sheds outward and down, never inward. Side and head flashing follow in the correct shingle-lap order so every layer drains onto the one below it. This is the single most important step for long-term performance in a high-rainfall area, and it's invisible once the trim goes back on — which is exactly why it's worth asking about before work starts.
Sealing and Insulation
Low-expansion foam or backer rod and sealant fill the gap between the window frame and the rough opening, cutting drafts and stopping air infiltration without bowing the frame out of square. Exterior sealant beads go where they belong — and just as important, weep holes and drainage paths are left open, not caulked shut, so any incidental moisture can still escape.
Final Fit and Weatherproofing
The window gets shimmed level, plumb, and square, fastened per the manufacturer's schedule, and checked for smooth operation before trim and exterior finishing go back on. A window that's slightly out of square will bind, won't seal tight, and puts uneven stress on the glass unit over time.
Our Window Installation Process for Lynden Homes
- On-site assessment — we look at the existing windows, the wall assembly, and any signs of past moisture problems before quoting anything
- Product selection — we walk through frame material, glass package, and style options based on your home's exposure and your budget, not a one-size pitch
- Opening prep — any rot, damaged sheathing, or old flashing is dealt with before the new window goes anywhere near the opening
- Flashing and install — sill pan, side and head flashing, air-sealing, and the window itself, set and fastened correctly
- Exterior finish — trim, sealant, and paint or caulk lines matched to the surrounding siding so the work blends in
- Walkthrough — we test every window we touch before we call the job done
Choosing the Right Window Frame for a Wet Climate
There's no single "best" window material — each has real trade-offs, and the right call depends on your home, your siding, and how much upkeep you want to take on.
| Frame Material | How It Handles Local Moisture | Maintenance | Trade-offs |
|---|---|---|---|
| Vinyl | Won't rot or corrode; handles humidity well | Low — occasional cleaning | Limited color/paint options; can flex on very large units |
| Fiberglass | Very stable in wet, temperature-swinging climates | Low | Higher upfront cost |
| Wood | Needs consistent sealing to resist rot and moss staining | High — repaint/reseal on a schedule | Best traditional look; shortest lifespan without upkeep |
| Wood-clad (wood interior, metal/vinyl exterior) | Exterior shell resists weather; interior stays traditional | Moderate | Higher cost; still relies on correct flashing to protect the core |
| Aluminum | Durable but conducts cold and can condense in our humidity | Low | Less energy-efficient unless thermally broken |
For most Lynden homes, we steer people toward vinyl or fiberglass for the balance of low upkeep and solid performance against sustained rain and humidity. Where a homeowner wants a painted wood look on a visible elevation, that's a legitimate choice too — it just comes with a maintenance commitment we're upfront about, since a wood frame left unsealed in this climate will show it within a couple of wet seasons.
Glass and Efficiency Considerations
Double-pane, low-E glass is the practical standard here — it cuts heat loss and reduces condensation on the interior pane, which matters when a house sits at a consistently high humidity for months at a time. Triple-pane adds further efficiency and sound dampening but at a real cost premium; it makes the most sense on north- or wind-exposed walls rather than across an entire house. Argon or krypton gas fill between panes is standard on most quality units now and is worth having — it's a small efficiency gain but a proven one.
What Affects the Cost of a Window Installation
| Factor | Why It Matters |
|---|---|
| Number and size of windows | More openings and larger units mean more material and labor |
| Frame material | Vinyl is typically the most budget-friendly; fiberglass and wood-clad cost more upfront |
| Condition of the existing opening | Rot or water damage found during removal adds repair work before the new window can go in |
| Glass package | Double-pane low-E is standard; triple-pane and specialty coatings add cost |
| Full-frame vs. insert replacement | Full-frame lets us re-flash properly; insert replacement is faster but reuses the existing frame and flashing |
| Trim and exterior finish work | Matching existing siding and trim profiles takes more time than a bare install |
We'll give you honest numbers for your specific windows and openings after a walkthrough — broad estimates without seeing the actual condition of your walls aren't useful to you.
Full-Frame Replacement vs. Insert Windows
Insert (or "pocket") replacement windows go into the existing frame and are faster and less invasive, which works fine when the existing frame and flashing are still sound. Full-frame replacement removes everything down to the rough opening, which costs more and takes longer but is the right call whenever there's any sign of past water intrusion — it's the only way to actually inspect and correct the flashing and sheathing underneath. We'll tell you honestly which situation you're in rather than defaulting to the faster, cheaper option when it isn't the right fix.
Why Hiring a Crew That Already Works in Lynden Matters
A crew that installs windows across Whatcom County through actual wet winters knows how the flashing sequence needs to change depending on siding type, how much slope a sill needs to shed water reliably here, and what a moss-related trim failure looks like before it becomes a structural one. That's not something you get from a single visit or a crew based somewhere with a drier climate. We stand behind the installs we do in this county specifically because we've seen what happens to the ones that were done wrong, and we build every job to hold up through the next ten wet seasons, not just the first one.
If your windows are showing drafts, moisture, or wear, or you're planning ahead for a replacement, we're happy to take a look and give you a straight assessment — no pressure, no upsell. Fill out the form below for a free estimate on your Lynden home.