 Whatcom County
 New-Construction Windows Are a Different Job Than Replacement
When people hear "new windows," they usually picture a replacement job — popping an old sash out of an existing frame. New-construction windows are a different animal entirely. They install with a nailing fin that gets integrated directly into the wall's weather-resistive barrier (WRB) and flashing system before siding ever goes on. There's no old frame to lean on and no forgiveness for a sloppy sequence. If the flashing order is wrong, or the fin isn't sealed and taped correctly, water finds its way in behind the siding — and you won't see it until there's a stain on the drywall or rot in the sheathing years later.
For a home going up in Ferndale, or an addition being framed out, this is the one chance to get the window-to-wall connection right from the start. There's no do-over once the siding is closed in.
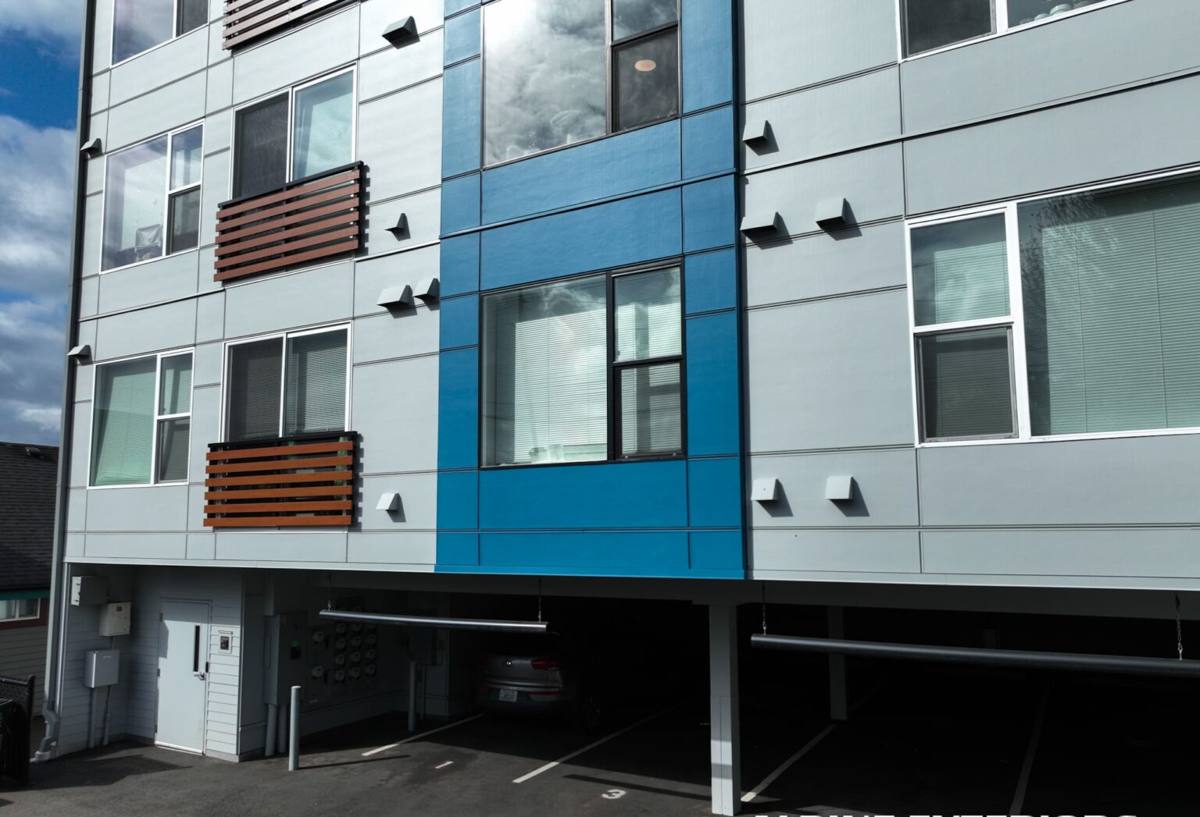
What Ferndale's Climate Actually Demands From a Window Install
Ferndale sits close enough to Bellingham Bay and the Strait of Georgia that salt-laden air is a real factor here, not a coastal-town cliché. Salt air accelerates corrosion on hardware, fasteners, and lower-grade cladding finishes over time. Combined with Whatcom County's wind-driven rain — storms that come in sideways off the water rather than falling straight down — window assemblies here take on moisture loads that a drier inland climate never sees.
Then there's moss season, which in this part of Washington runs long — roughly fall through spring, sometimes longer in shaded lots near tree lines. Moss and algae thrive wherever moisture sits and sunlight is limited, and they don't just grow on roofs. They colonize window sills, trim boards, and any horizontal surface that stays damp. A window detail that doesn't shed water cleanly becomes a moss farm within a couple of seasons, and trapped moisture under growth is exactly what accelerates wood rot and finish failure.
None of this means Ferndale needs exotic materials. It means the basics — flashing sequence, sill pan drainage, fastener selection, and frame material — have to be done correctly and consistently, because the climate won't forgive shortcuts the way a drier region might.
Why This Matters More on New Construction
On a replacement job, an existing wall assembly has often already proven itself over decades. On new construction, you're building the water management system from scratch. Get the sill pan, flashing tape, and fin integration wrong on a brand-new house, and you're baking a leak path into a building that's supposed to last fifty years or more.
Choosing a Frame Material for This Climate
There's no single "best" window brand — there's a best fit for the exposure, budget, and look of the specific build. Here's how the common options hold up under Whatcom County's coastal-adjacent conditions:
| Frame Material | Moisture & Salt Air Behavior | Maintenance | Typical Fit |
|---|---|---|---|
| Vinyl | Doesn't corrode or rot; performs well against salt air | Low — occasional cleaning | Budget-conscious builds, rentals, most residential new construction |
| Fiberglass | Very stable dimensionally, resists moisture and corrosion well | Low | Higher-end new builds, larger window spans |
| Aluminum-clad wood | Good weather-side protection, but any cladding breach exposes wood to rot | Moderate — cladding seams need monitoring | Design-forward homes wanting a wood interior look |
| Bare aluminum | Prone to condensation and corrosion in marine air over time | Higher | We generally steer builders away from this in our climate |
Our standard is to steer clients toward vinyl or fiberglass for most new-construction projects in this area — not because other materials are inherently bad, but because they minimize long-term maintenance in an environment with persistent moisture and salt exposure. Clad-wood is a legitimate choice when the look matters to the homeowner, but we're upfront that it comes with a higher inspection and maintenance burden here than in a drier inland climate.
The Flashing Sequence: The Part That Actually Prevents Leaks
Most window failures aren't the window's fault — they're an installation sequencing problem. The order matters more than almost anything else on the job:
- WRB (housewrap or weather barrier) is installed and lapped correctly around the rough opening first.
- A sloped sill pan is installed at the bottom of the opening so any water that gets past the window has somewhere to drain — out, not into the wall cavity.
- The window unit is set, leveled, and fastened through the nailing fin per the manufacturer's instructions — not generic guesswork.
- Flashing tape goes over the side fins, then the head flashing, integrating shingle-style with the WRB above so water is always directed outward and downward, never trapped.
- Sealant is applied at specified points only — over-sealing everything is actually a common mistake, since it can trap water that gets past the primary defenses instead of letting it drain.
Skip or reorder any of these steps and you've built a hidden leak path that won't announce itself for years — right up until it does, usually as sheathing rot that's expensive to fix after the fact.
Coordinating Windows With Siding Installation
Because we install both siding and windows, we plan the sequence as one continuous water-management system rather than two separate trades handing off a wall. The siding's own drainage plane, house wrap laps, and trim details need to tie directly into the window flashing — not just butt up against it. On a job where windows and siding are installed by separate, uncoordinated crews, this is where gaps most often show up: trim gets caulked over a flashing detail that was never designed to be sealed shut, or siding closes in before the window flashing has cured or been inspected.
Handling both trades ourselves on new construction means we're not troubleshooting someone else's window install after the fact, and we're not guessing how the siding detail is supposed to meet the window trim.
Our Process on a New-Construction Window Job
For a builder or homeowner bringing us onto a Ferndale project, the process generally looks like this:
- Plan review: we look at window schedules, rough opening sizes, and the wall assembly before anything is ordered, so sizing and flashing details are settled before framing is finalized.
- Product selection: we walk through frame material, glazing (double vs. triple pane), and performance ratings suited to the home's exposure — a window on the weather side of the house facing prevailing wind-driven rain may warrant a different spec than a sheltered elevation.
- Rough opening prep and inspection: openings are checked for square, level, and correct WRB lapping before a single window goes in.
- Installation: sill pans, units, flashing, and fastening are done to manufacturer spec, unit by unit, with attention paid to each elevation's exposure.
- Siding integration: trim and siding details are tied into the window flashing as one continuous water-shedding system.
- Final walkthrough: we check operation, seals, and trim on every unit before calling the job done.
Glazing and Performance Considerations for This Area
Whatcom County's climate is milder than most of the interior Pacific Northwest, but it's damp for a large part of the year, which makes condensation resistance and proper glazing selection worth real attention — especially on new construction where you're setting the performance baseline for the life of the house. Double-pane, low-E glazing is standard for most new builds here and performs well. Triple-pane can make sense for homes with larger window walls or rooms with higher humidity loads (kitchens, bathrooms, sunrooms), where added insulation value and condensation resistance offset the additional cost. We'll walk through where triple-pane earns its keep on a given plan and where it's not worth the upcharge.
Common Mistakes We See on New-Construction Window Jobs
A lot of the water intrusion problems we get called out to diagnose on other builders' projects trace back to a short list of recurring issues:
- Sill pans skipped or improvised instead of properly sloped and integrated with the WRB.
- Flashing tape applied out of shingle-lap order, so water runs behind a lower layer instead of over it.
- Sealant used as a substitute for correct flashing sequence rather than a supplement to it.
- Fasteners or trim details that trap moisture against the frame instead of letting it shed and dry.
- Siding closed in before window flashing is inspected, hiding a problem until it's already caused damage.
Why a Ferndale-Experienced Crew Matters
Window installation code minimums and manufacturer instructions are the same everywhere, but judgment calls — which elevations need extra attention against wind-driven rain, how aggressively to plan for moss and algae growth on sills and trim, which frame materials hold up without excess maintenance in salt air — come from having actually worked this specific area. A crew that's installed windows across Whatcom County knows which details matter most on a lot near the water versus one further inland, and builds accordingly instead of applying a one-size-fits-all approach.
If you're framing a new home or addition in Ferndale and want windows installed by a crew that also understands how to integrate them with siding correctly the first time, we're happy to walk your plans and rough openings with you and give straightforward, no-pressure guidance — including where you can save money and where it's not worth cutting corners. Reach out for a free estimate using the form below.