 Whatcom County
 Why Birchwood Siding Takes a Different Kind of Beating
Birchwood sits close enough to Bellingham Bay and the Whatcom County waterways that homes here deal with a specific combination of weather stress: salt-laden air moving in off the water, long stretches of driving rain through fall and winter, and a moss and algae season that can run eight months or more in shaded, north-facing yards. None of these on their own is unusual for Western Washington. Together, applied year after year to the same wall assembly, they add up to a siding failure pattern that looks different from what you'd see on a drier, more inland property.
Salt air is corrosive to exposed metal fasteners, flashing, and trim edges long before most homeowners notice a problem with the siding panels themselves. Driving rain — rain pushed sideways by wind, not just falling straight down — finds every gap in caulking, every under-lapped joint, and every place where trim meets siding without proper flashing. And moss doesn't just look bad; it holds moisture against the wall surface for weeks at a time, which is exactly the condition that rots wood-based siding and breaks down paint films on lesser materials.
We work on homes throughout Whatcom County, and Birchwood properties consistently show a recognizable pattern: damage concentrated on north- and west-facing walls, at ground-contact trim, around window and door flashing, and at any spot where a previous repair or addition created a new seam in the siding. Understanding that pattern is the difference between a repair that lasts and one that fails again in two winters.
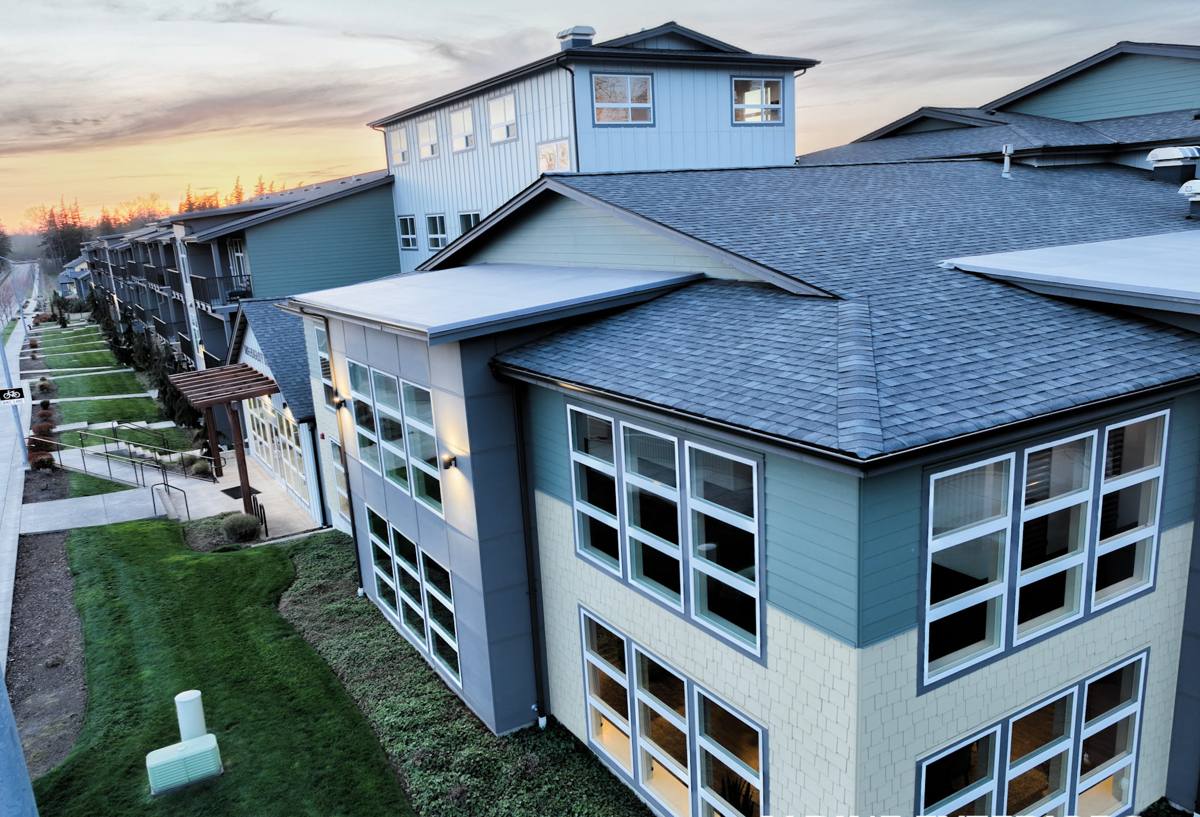
Signs Your Siding Needs Repair — Not Just Paint
A lot of siding problems get masked with a fresh coat of paint, which can look fine for a season or two before the underlying issue resurfaces. Here's what actually indicates a repair is needed:
- Soft or spongy spots when you press on the siding, especially near the bottom courses or under windows — usually trapped moisture and early rot
- Visible gaps or separation at butt joints, corners, or where siding meets trim
- Persistent dark streaking or moss growth that returns quickly after cleaning, suggesting the surface is staying wet longer than it should
- Bubbling, peeling, or cracking paint in a localized area rather than across the whole wall — often a sign of moisture pushing out from behind the siding
- Warped, bowed, or cupped panels, common on older wood or engineered wood siding after repeated wet-dry cycles
- Rust streaks below fasteners, a direct sign of salt-air corrosion working on exposed nail heads or trim screws
- Gaps or cracked caulk around windows, doors, and penetrations like hose bibs and vents
Any one of these can be a contained, inexpensive fix if caught early. Left alone through another Whatcom County wet season, most of them turn into sheathing and framing repairs — a much bigger job.
What a Correct Siding Repair Actually Involves
Patching over damaged siding without addressing what let the damage happen is the single most common mistake we see when we're called to fix someone else's repair. A repair that's actually going to hold up needs to address four things, in order.
1. Find the real source of moisture entry
Damaged siding is usually a symptom, not the root cause. Before we replace a single board, we trace back to why water got behind the cladding in the first place — failed flashing, a caulk joint that opened up, a grading issue directing water at the wall, or a gap where two different siding runs meet.
2. Open up and inspect what's behind the siding
If there's any sign of moisture intrusion, we pull back enough siding to check the water-resistive barrier and sheathing underneath. Replacing a siding panel over sheathing that's already soft doesn't fix anything — it just hides the problem for another season.
3. Correct the flashing and drainage detail
This is the step that actually stops the problem from recurring. That means proper head flashing over windows and trim, correct lapping so water sheds outward at every horizontal joint, and a drainage gap where required so any moisture that does get behind the siding can escape rather than sit against the wall.
4. Replace with matched material, installed to spec
The visible repair — new siding, new trim, new paint or factory finish — comes last, and only after the first three steps are done. Fastener placement, caulk joints, and panel gaps all matter here; installed wrong, even good material fails early.
Our Repair Process, Step by Step
We run every Birchwood repair through the same process, whether it's a single damaged panel or a whole wall section:
- On-site inspection — we look at the visible damage and check adjacent areas, trim, and flashing for related issues you may not have noticed
- Diagnosis and written scope — we tell you plainly whether this is a contained repair or whether the damage has spread far enough that replacement of a wall section makes more sense
- Material matching — for James Hardie ColorPlus siding, we source matching profile and factory finish so the repair doesn't stand out as a patch
- Removal and structural check — damaged material comes off, and we inspect the sheathing and barrier underneath before anything goes back on
- Flashing and moisture-barrier correction — this is where we fix the actual cause, not just the symptom
- Reinstallation to manufacturer spec — correct fastener type, spacing, and gapping, which is what keeps a repair from becoming a callback
- Final walkthrough — we show you what we found and what we did about it
Repair or Replace? A Straight Answer
Homeowners often assume any siding damage means a full re-side. That's not usually true — but sometimes it is the more honest recommendation. Here's how we think about it:
| Situation | Repair usually makes sense | Replacement usually makes sense |
|---|---|---|
| Extent of damage | Isolated to one or two wall areas | Spread across multiple walls or the whole exterior |
| Siding age and material | Newer material, or Hardie panels with isolated impact damage | Original wood, hardboard, or aging material nearing end of service life |
| Underlying sheathing | Dry, sound sheathing found once opened up | Widespread soft or rotted sheathing across sections |
| Root cause | A fixable flashing or caulk failure | Systemic issues — grading, missing drainage plane, chronic moisture |
| Cosmetic match | Color and profile can be matched closely | Discontinued product or heavy fading makes matching impossible |
We'll never push a full replacement when a proper repair will genuinely hold up — but we also won't patch over a problem that's going to be back at your door in a year. Whatcom County's wet season is not forgiving of shortcuts either way.
Why Materials Matter More on the Coast
This is where our standardization on James Hardie fiber cement siding matters most for a neighborhood like Birchwood. Fiber cement doesn't absorb moisture the way wood or wood-composite siding does, so it isn't feeding the rot cycle that salt air and long wet seasons cause. It's also non-combustible, which matters as summers here trend drier and longer even in a historically wet county. The ColorPlus factory finish is baked on under controlled conditions, which holds up to UV and moisture exposure far better than a field-applied paint job — important when a coastal-adjacent wall is getting more weather cycling than an inland one.
When we repair a section of Hardie siding, we're matching into a product line engineered for exactly this climate, with a strong transferable warranty behind it. That's a meaningfully different position than trying to patch aging wood, primed spruce, or vinyl siding where the repair material is already fighting the same absorption and expansion problems that caused the original damage.
Repair Materials Checklist — What We Actually Match
- Panel or plank profile (lap width, reveal, texture)
- ColorPlus factory finish color and sheen
- Trim profile and corner detail
- Fastener type and spacing per current Hardie installation spec
- Flashing material compatible with fiber cement (avoiding galvanic reaction with incompatible metals)
- Caulk rated for the joint type and exposure
Why a Crew That Already Works Birchwood Matters
Siding repair is one of those jobs where local experience shows up in details a generic crew misses. A contractor who works Whatcom County regularly already knows which wall orientations take the worst of the driving rain, how aggressively moss establishes itself in shaded Birchwood lots, and what the salt-air corrosion timeline looks like on fasteners and flashing in this specific area. That translates into a faster, more accurate diagnosis — we're not guessing at what's behind the siding, we've seen the same failure pattern on the house down the street.
It also means straightforward logistics: local material sourcing for a Hardie color match, familiarity with Whatcom County permitting where a repair crosses into replacement of a larger wall section, and a crew that isn't traveling in from out of the area and treating your repair as a one-off stop.
After the Repair: Keeping Birchwood Siding in Good Shape
A correct repair should last, but a little seasonal attention extends that further — especially given the moss and rain load in this area.
- Rinse siding annually, focusing on north- and west-facing walls where moss and algae establish first
- Trim back vegetation and tree limbs that keep a wall section shaded and damp
- Walk the exterior each fall and check caulk joints around windows, doors, and trim before the wet season sets in
- Keep gutters clear — overflow running down a wall is one of the most common causes of repeat siding damage
- Watch ground-contact trim and touch up or reseal promptly if you see gapping
What Influences the Cost of a Siding Repair
| Factor | Why it matters |
|---|---|
| Extent of hidden damage | Sheathing or framing repair adds cost beyond the visible siding fix |
| Access and wall height | Second-story or hard-to-access areas require more setup time |
| Material match availability | Matching an older or discontinued color/profile can take more sourcing effort |
| Flashing and drainage correction | Fixing the actual moisture path, not just the cosmetic damage |
| Scope creep once opened up | Repairs sometimes reveal adjacent damage not visible from outside |
We give a written scope after inspection so you know exactly what you're paying for and why — no vague allowances that turn into surprises once the crew is on site.
If you're seeing soft spots, gaps, staining, or persistent moss on your Birchwood home's siding, it's worth having it looked at before another Whatcom County wet season works on it further. We offer a free, no-pressure estimate — walk us through what you're seeing and we'll tell you honestly whether it's a repair or something bigger.